使用Hexo + Github 搭建一个博客网站 [Mac环境]
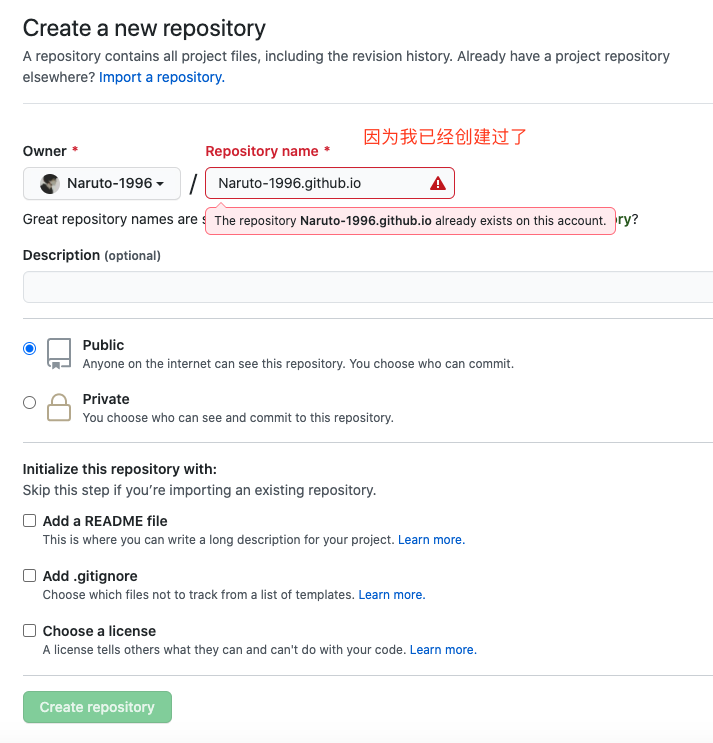
1、创建Github仓库
安装 Homebrew
$ ruby -e "$(curl -fsSL https://raw.githubusercontent.com/Homebrew/install/master/install)"

查询Homebrew是否安装成功的命令
$ brew -v

安装 git
$ brew install git

查询git是否安装成功的命令
$ git --version

安装 node.js
$ brew install node

查询node是否安装成功的命令
$ node -v

安装 hexo
$ npm install -g hexo

查询hexo是否安装成功的命令
$ hexo -v
3、安装博客相关的插件
自动部署到Github上的插件
$ npm install hexo-deployer-git --save

安装博客首页生成插件
$ npm install hexo-generator-index --save

安装tag生成插件
$ npm install hexo-generator-tag --save

* 到此为止,安装完毕
4、创建博客、调试、发布
创建本地一个目录,用来创建博客
$ hexo init Blog
执行成功后会在本地创建一个Blog的文件夹cd 到Blog中
$ hexo new firstBlog
在Blog/source/_posts中就会新建一个firstBlog.md的文件,然后你就可以编辑你的博客内容了,Visual Studio Code编辑器支持预览,还可以和印象笔记同步本地调试
$ sudo hexo server 或 $ sudo hexo s
然后可以访问http://localhost:4000来查看结果安装发布插件
在博客文件夹运行下面命令$ npm install hexo-deployer-git --save
然后在Blog文件夹下的_config.yml文件修改发布的配置,最后一行改为(注意替换yourusername)
# Site
 title: "李文洋"
 subtitle: 'Android开发、Ruby程序员、目前正在学习Rust'
 description: '单身可撩、帅气的程序员小哥哥'
 keywords:
author: 李文洋
language: zh-CN
timezone: ''
deploy:
  type: git  #使用Git 发布
  repo: https://github.com/Naruto-1996/Naruto-1996.github.io.git  #自己的Github仓库地址
branch: master- 运行生成发布
$ sudo hexo g
$ sudo hexo d
如果改动了站点的源码,需要在发布之前
$ sudo hexo clean
如果成功了就可以通过yourusername.github.io来访问你的博客了
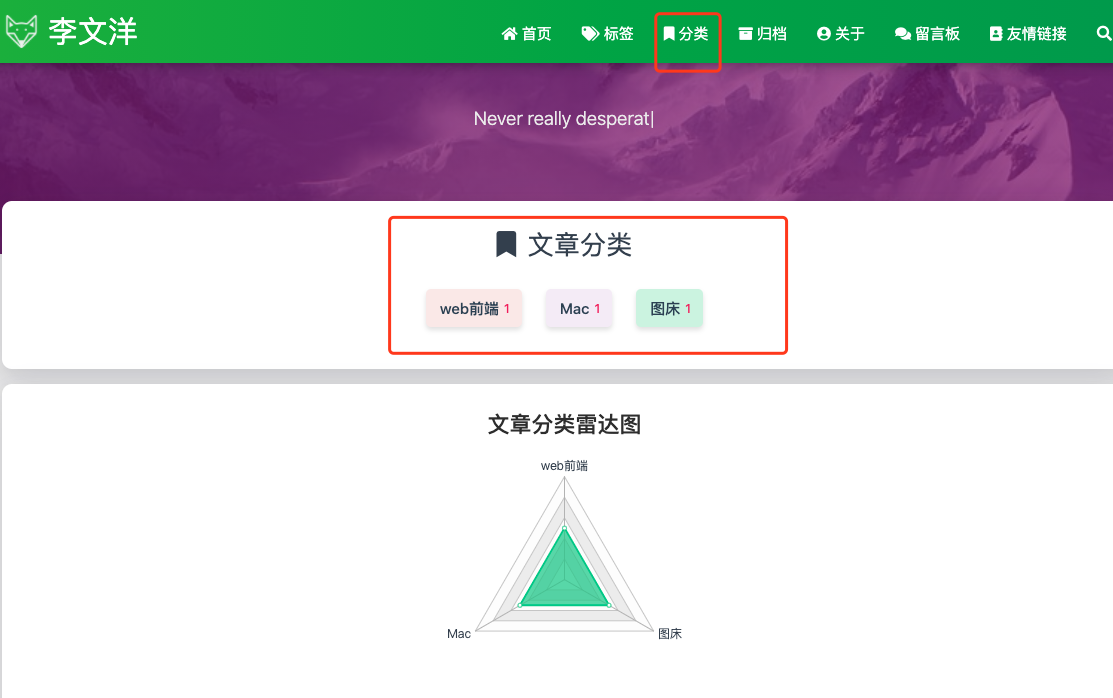
5、新建分类页面
categories 页是用来展示所有分类的页面,如果在你的博客 source 目录下还没有 categories/index.md 文件,那么你就需要新建一个,命令如下:
hexo new page "categories"编辑你刚刚新建的页面文件 /source/categories/index.md,至少需要以下内容:
---
title: categories
date: 2018-09-30 17:25:30
type: "categories"
layout: "categories"
---
6、新建标签页面 tags
tags 页是用来展示所有标签的页面,如果在你的博客 source 目录下还没有 tags/index.md 文件,那么你就需要新建一个,命令如下:
hexo new page "tags"编辑你刚刚新建的页面文件 /source/tags/index.md,至少需要以下内容:
---
title: tags
date: 2018-09-30 17:25:30
type: "tags"
layout: "tags"
---
7、新建关于我 about 页面
about 页是用来展示关于我和我的博客信息的,如果在你的博客 source 目录下还没有 about/index.md 文件,那么你就需要新建一个,命令如下:
hexo new page "about"编辑你刚刚新建的页面文件 /source/about/index.md,至少需要以下内容:
---
title: about
date: 2018-09-30 17:25:30
type: "about"
layout: "about"
---
8、新建留言板 contact 页(可选的)
contact 页是用来展示留言板信息的,如果在你的博客 source 目录下还没有 contact/index.md 文件,那么你就需要新建一个,命令如下:
hexo new page "contact"编辑你刚刚新建的页面文件 /source/contact/index.md,至少需要以下内容:
---
title: contact
date: 2018-09-30 17:25:30
type: "contact"
layout: "contact"
---- 注:本留言板功能依赖于第三方评论系统,请激活你的评论系统才有效果。并且在主题的 _config.yml 文件中,第 19至 21 行的“菜单”配置,取消关于留言板的注释即可。
9、新建友情链接页面 friends
friends 页是用来展示好友的,如果在你的博客 source 目录下还没有 friends/index.md 文件,那么你就需要新建一个,命令如下:
hexo new page "friends"编辑你刚刚新建的页面文件 /source/friends/index.md,至少需要以下内容:
---
title: friends
date: 2018-09-30 17:25:30
type: "friends"
layout: "friends"
---
同时,在你的博客 source 目录下新建 _data 目录,在 _data 目录中新建 friends.json 文件,文件内容如下所示:
[{
    "avatar": "http://image.luokangyuan.com/1_qq_27922023.jpg",
    "name": "码酱",
    "introduction": "我不是大佬,只是在追寻大佬的脚步",
    "url": "http://luokangyuan.com/",
    "title": "前去学习"
}, {
    "avatar": "http://image.luokangyuan.com/4027734.jpeg",
    "name": "闪烁之狐",
    "introduction": "编程界大佬,技术牛,人还特别好,不懂的都可以请教大佬",
    "url": "https://blinkfox.github.io/",
    "title": "前去学习"
}, {
    "avatar": "http://image.luokangyuan.com/avatar.jpg",
    "name": "ja_rome",
    "introduction": "平凡的脚步也可以走出伟大的行程",
    "url": "https://me.csdn.net/jlh912008548",
    "title": "前去学习"
}]
10、接下来就是如何写博客了
sudo hexo new "第一个博客"
就会在Blog文件夹中的 source/_posts 文件夹下创建出一个 第一个博客.md 文件
---
title: 第一个博客
date: 2020-10-16 18:57:25
categories:
- Mac
tags:
- hexo
- github
---- 注意这里的 categories 和 tag 标签 就是对文章的分类和标签 写了这些就会在前端展示出来
然后就可以运行一下命令来生成和发布文章到github上了
sudo hexo g
sudo hexo d
11、关于主题的配置我这里就不在说了可以自行Google一下 hexo主题配置
留个传送门供我自己使用
主题传送门